Using your Raspberry Pi as a DLNA/UPnP media server
Another quick guide to show you how to set up a Raspberry Pi as a DLNA/UPnP media server using an external hard drive as storage.
My home network has long been rather fragmented. Videos, Pictures and Music was spread across any one of 4 or 5 computers on the home network. Some of these computers were laptops, which meant things may or may not be avaliable at any given time. Additionally, any of these computers could be on or off at any one time.
If this sounds remotely familiar, you may want to think about setting up a home media server. One place that stores all of your media. One that is cheap to keep running 24/7 and one that is stable and reliable and ready whenever you need it.
For a long time now, I’ve had my Pi sitting serving the occasional web page, a torrent daemon, Samba shares and SSH. This is fine until you want to stream movies to smart TVs or game consoles. Samba just doesn’t cut it for that use.
The following guide assumes you are running a Debian based distribution (Ubuntu, Raspbian, etc.) Other distros will be similar but not exactly the same.
Mounting your external drive
What use is a media server if you have nowhere to store your media? This will walk you through auto-mounting an external drive upon boot.
Plug in your USB drive and run the following to get a list of storage devices.
# lsblk
NAME        MAJ:MIN RM   SIZE RO TYPE MOUNTPOINT
sda           8:0    0   1.8T  0 disk
└─sda1        8:1    0   1.8T  0 part
mmcblk0     179:0    0  29.7G  0 disk
├─mmcblk0p1 179:1    0    56M  0 part /boot
└─mmcblk0p2 179:2    0  29.7G  0 part /
You should get something like that. Above you can see I have my 32GB SD card (mmcblk0) with the OS installed, and a my external HDD (sda) with a 2TB partition at /dev/sda1
We’ll go ahead and create a mount point for our drive and mount it.
# mkdir -p /mnt/ext
# mount /dev/sda1 /mnt/ext
Great, we have access to our files at /mnt/ext now. To get it to automatically mount on boot, we need to add it to our /etc/fstab file.
Next we’ll find our device UUID and filesystem type.
# blkid
/dev/sda1: LABEL="2TB WD" UUID="5102-AA4B" TYPE="exfat"
Add this line to the bottom of your fstab, substituting your UUID, mount point and filesystem. Ensure you pay attention to formatting of this file!
UUID=5102-AA4B /mnt/ext exfat defaults 0 0
Once we have that done, our drive is auto-mounted whenever we next reboot. Now to serve our media files…
Introducing MiniDLNA
MiniDLNA is a lightweight media server designed to support the DLNA and UPnP protocols. This works pretty nicely with almost any device you may want to consume media content on and it’s so lightweight it’s an ideal match for the Pi.
So, let’s get started. First, run a full update and then install the minidlna package.
# apt-get update
# apt-get upgrade
# apt-get install minidlna
Once installed, we’ll go ahead and edit the configuration file as follows.
/etc/minidlna.conf
---
media_dir=A,/mnt/ext/Music
media_dir=P,/mnt/ext/Pictures
media_dir=V,/mnt/ext/Videos
friendly_name=Raspberry Pi
inotify=yes
Fairly self explanitory, I hope. Set your directories, set a name for your media server, and ensure that the media library is automatically refreshed.
Now we start minidlna and we should have a working media server!
# service minidlna start
Upon the fist run, the media library will be built. This may take a while depending on how many files you have, once it’s done you shouldn’t have to do it again though.
Finally, ask minidlna to start up automatically upon boot.
# update-rc.d minidlna defaults
Tada! Enjoy your media :)
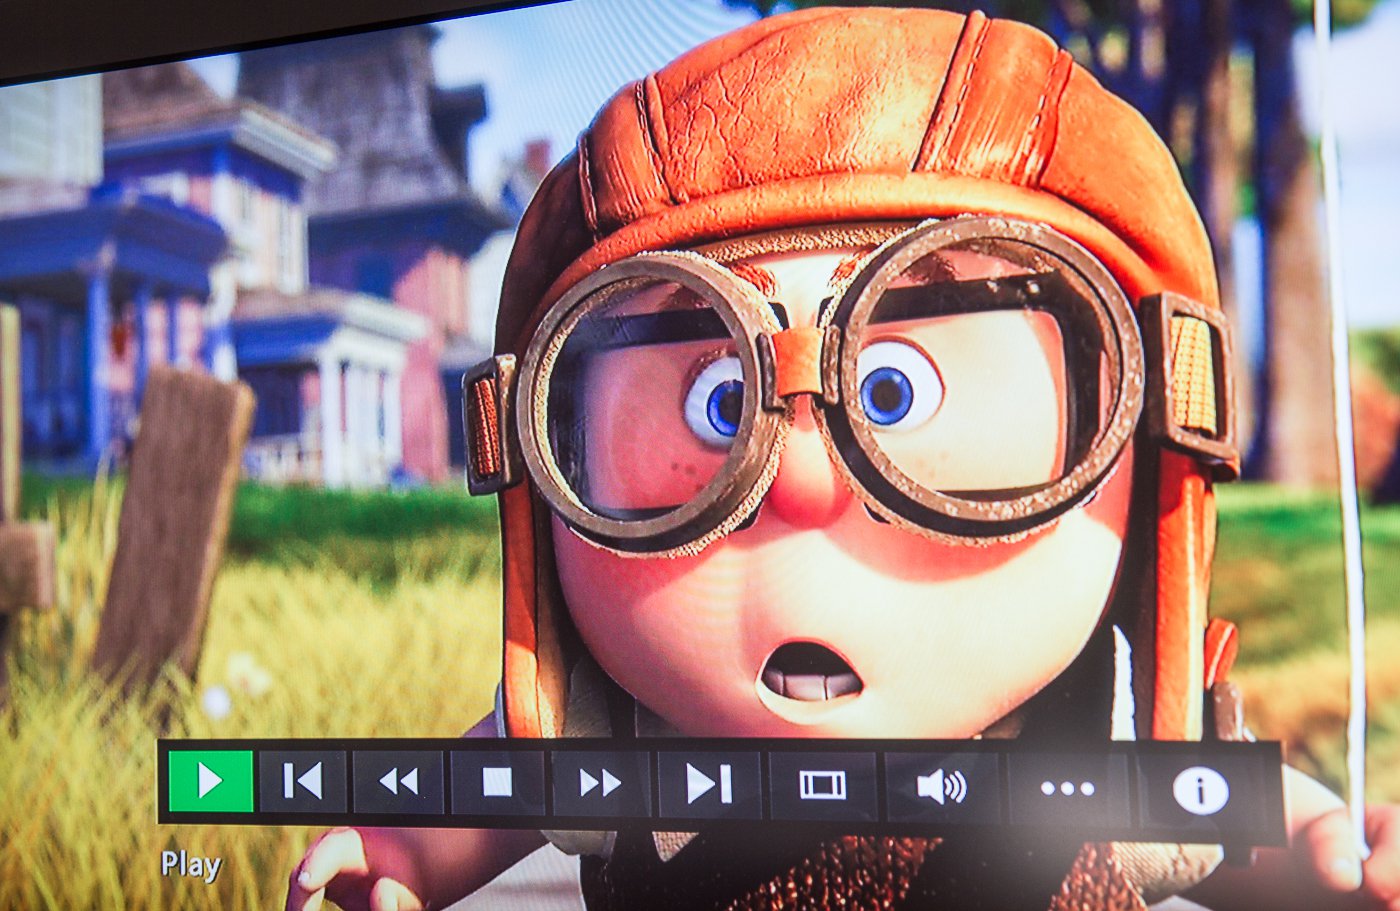
Oh and by the way, it streams 1080p to XBoxes, Playstations, Smart TVs and other computers flawlessly…